If you’ve ever wondered how to make homemade crescent rolls that are light, buttery, and perfectly flaky—without any mystery ingredients—welcome to your new go-to recipe. Whether you’re planning a holiday brunch, a cozy Sunday dinner, or just craving warm, bakery-style rolls fresh from your own oven, these crescent rolls are here to impress.
As a busy mom of two and a lifelong bread-lover, I know firsthand how satisfying it is to bring a batch of fresh, golden rolls to the table. And trust me, once you make these from scratch, you’ll never look at the store-bought version the same way again. Let’s roll, shall we?
🥐 Why You’ll Love This Homemade Crescent Rolls Recipe
First things first—this easy homemade crescent rolls recipe doesn’t require any fancy equipment or complicated techniques. It’s perfect for beginners, yet delivers bakery-worthy results. The rolls come out soft and tender on the inside, golden and slightly crisp on the outside, with a delicious buttery flavor in every bite.
Plus, you’ll get to enjoy the most heavenly scent wafting through your kitchen. I mean, is there anything more comforting?
📋 Ingredients You’ll Need
Here’s what you’ll need to create that irresistible flakiness at home:
- ⅓ cup warm water (110°-120°F)
- 5 teaspoons sugar, divided
- 2¼ teaspoons dry active yeast (one 0.25 oz packet)
- ⅔ cup warm whole milk (110°-120°F)
- ½ cup unsalted butter, room temperature
- 2 large eggs, room temperature
- 4 to 4½ cups all-purpose flour, divided
- 1½ teaspoons kosher salt
- 2 tablespoons melted butter (for brushing)
👩🍳 Baking Tip: Wondering about the best flour for homemade crescent rolls? Stick with all-purpose flour for a soft but structured texture. Bread flour makes them chewier, while cake flour lacks enough strength for those beautiful layers.
🔄 Step-by-Step: How to Make Homemade Crescent Rolls

Step 1: Activate the Yeast
In a large mixing bowl (or stand mixer bowl), stir together warm water, 1 tsp of sugar, and yeast. Let it sit for about 5 minutes, until foamy. This tells you the yeast is alive and ready to party.
Step 2: Mix Wet Ingredients + Starter Dough
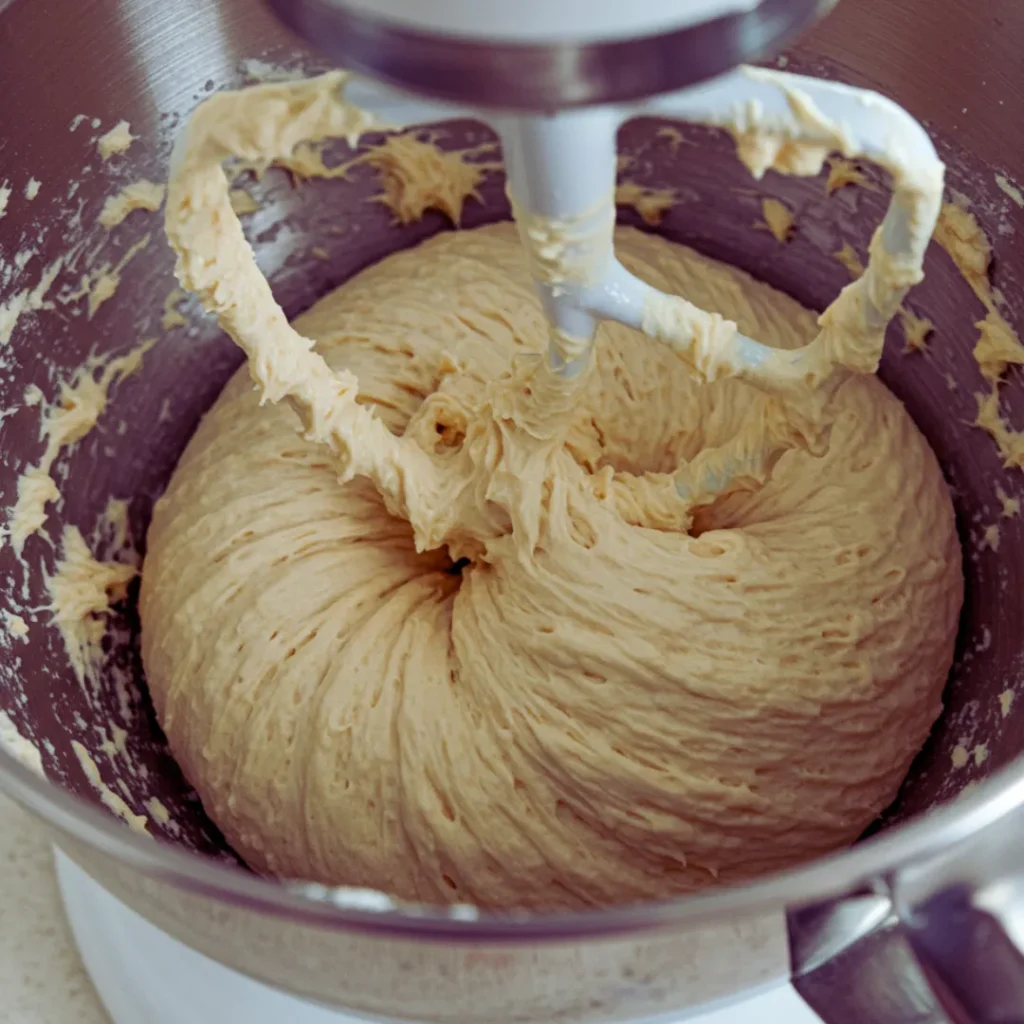
Add in the rest of the sugar, warm milk, softened butter, and eggs. Stir until mostly combined. Add 2 cups of flour and the salt, mixing until it becomes a thick, sticky batter.
Step 3: Knead That Dough
Switch to the dough hook, or keep going by hand. Slowly add remaining flour (½ cup at a time), kneading for about 15 minutes until a smooth, elastic dough forms and pulls away from the bowl.
Step 4: First Rise
Shape dough into a ball, place it in a greased bowl, cover with a clean towel, and let it rise in a warm spot for about 45 minutes (until doubled in size). This is a great time for coffee… or a load of laundry.
Step 5: Roll + Shape
Punch down the dough gently. Divide in half, and roll each portion into a 12-inch circle. Use a pizza cutter to slice each circle into 12 triangles. Starting from the wide end, roll each one toward the point to form a crescent.
Step 6: Final Rise
Place rolls on a parchment-lined baking sheet, spacing them about 2 inches apart. Cover loosely and let them rise again for 30 minutes. They should puff up noticeably.
Step 7: Bake to Golden Perfection
Preheat oven to 400°F. Bake rolls for 10–12 minutes, or until golden brown. Immediately brush with melted butter.

💡 Tips for Success
- Don’t rush the rise! Dough needs time to develop that soft texture. Cold kitchens may need extra time, so be patient.
- Too dense? You may have added too much flour. Dough should be soft and slightly tacky—not dry.
- I’ve learned that the type of flour makes a big difference in how soft and fluffy your rolls turn out. If you’re curious, check out my guide on sourdough vs. regular bread—it’s a great breakdown of how flour impacts texture.
- Crescent confusion? If you’re asking “Why are my homemade crescent rolls tough?” it’s often due to overworking the dough or using too much flour. Be gentle and don’t skimp on rise time.
🧺 Homemade Crescent Rolls vs Store-Bought
Let’s be real: store-bought crescent rolls have saved many of us in a pinch. But once you try these homemade beauties, there’s no going back. The texture is softer, the flavor is richer, and they’re free of preservatives. Plus, there’s something special about saying, “Yes, I made those from scratch.”
At our house, these became a Sunday dinner staple after my youngest, Jessica, declared them “way better than the ones from the tube.” Honestly? I couldn’t agree more.

🙋♀️ Frequently Asked Questions
Can I freeze these crescent rolls?
Yes! After shaping, freeze them on a tray, then transfer to a freezer bag. When ready to bake, thaw, let rise, and bake as directed.
What’s the best flour for homemade crescent rolls?
All-purpose flour is ideal for that soft, fluffy texture. Bread flour can make them too chewy.
How do I store leftovers?
Keep in an airtight container at room temp for up to 2 days. Reheat gently in the oven or toaster oven for that fresh-out-of-the-oven feel.
Can I make the dough ahead of time?
Absolutely. Let it rise once, then refrigerate overnight. Bring to room temp before shaping and baking.

How to Make Homemade Crescent Rolls Easily
- Total Time: 2hours
Description
| Learn how to make homemade crescent rolls that are buttery, flaky, and absolutely irresistible. Perfect for holidays or cozy weekend baking. |
Ingredients
⅓ cup warm water 110°-120°F, (80ml)
5 teaspoon sugar divided
2¼ teaspoons dry active yeast (7g/.25-ounce packet)
⅔ cup warm whole milk 110°-120°F, (160ml)
½ cup unsalted butter room temperature, (113g)
2 large eggs room temperature
4 to 4½ cups all-purpose flour divided, (480g to 510g)
1½ teaspoons kosher salt
2 tablespoons melted butter
Instructions
- Prep Time: 1hour hour 50minutes
- Cook Time: 10minutes
- Category: Bread
- Cuisine: American
Nutrition
- Serving Size: 24 rolls
- Calories: 141kcal
Keywords: how to make homemade crescent rolls, easy homemade crescent rolls recipe, best flour for homemade crescent rolls


