Let’s be real—sometimes you just need dessert to feel like a warm hug from the past. That’s exactly what this Easy Pineapple Upside Down Cake Recipe brings to the table. It’s sweet, sticky, and beautifully old-fashioned in all the best ways. Whether you’re baking for a weekend gathering, a birthday, or just because your sweet tooth says so, this is the kind of cake that never goes out of style.
Growing up, this was my mom’s go-to dessert when we had company over (or when she wanted to cheer up a gloomy Tuesday). She’d pull out that well-loved can of pineapple slices, pop a few bright maraschino cherries in the center, and just like that, the kitchen smelled like sunshine and sugar.
If you’re new to baking or just want a foolproof dessert, this cake is for you. Simple ingredients, one pan, and a topping that flips into caramelized glory? Yes, please.
Why You’ll Love This Easy Pineapple Upside Down Cake Recipe
- Beginner-friendly: No need for fancy tools or bakery-level skills.
- Uses pantry staples: Most of the ingredients are probably already in your kitchen.
- Perfectly moist: Thanks to the sour cream and whole milk combo.
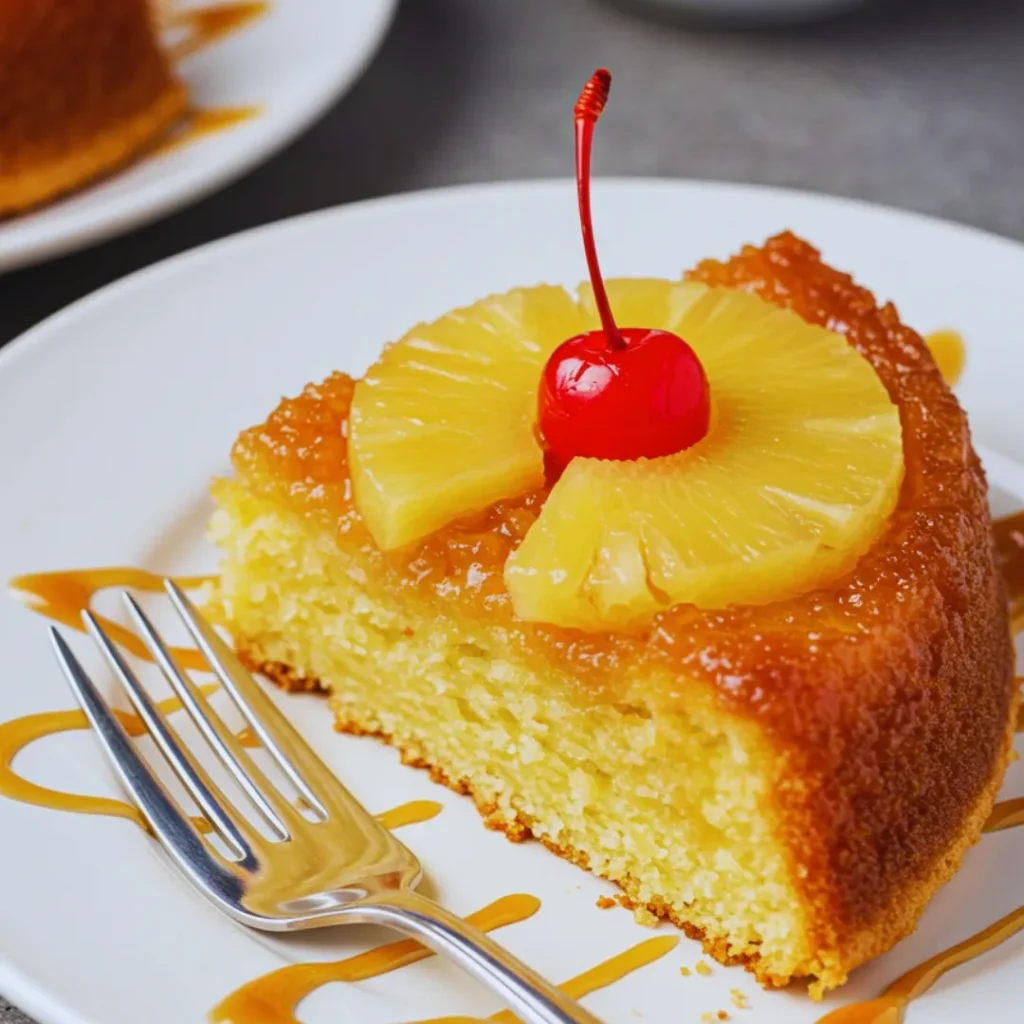
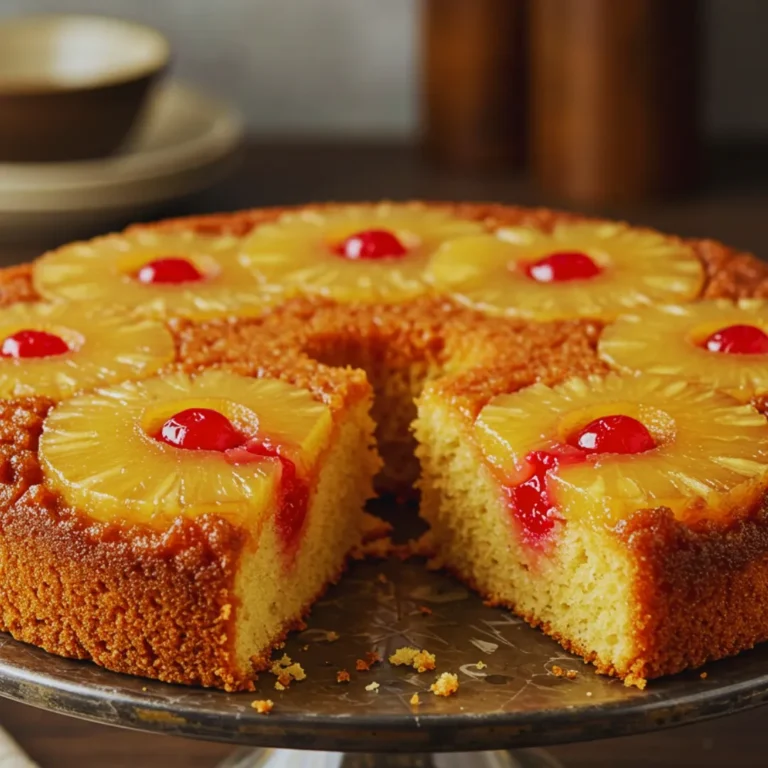
- That flip moment: Watching the golden pineapple rings and cherries reveal themselves never gets old.
- Great for any occasion: Family dinners, brunches, or “just because” treats.
This isn’t just another pineapple cake—it’s the kind of dessert that brings back memories and makes new ones, too.
Ingredients You’ll Need
For the Topping:
- ¼ cup unsalted butter, melted (56g)
- ½ cup light brown sugar (110g)
- 1 (20 oz) can pineapple slices in juice, drained
- 20 maraschino cherries, stems removed
For the Cake:
- 1½ cups all-purpose flour (180g)
- 1½ teaspoons baking powder
- ½ teaspoon kosher salt
- ½ cup (1 stick) unsalted butter, room temperature (113g)
- ¾ cup granulated sugar (150g)
- 2 large eggs, room temperature
- 2 teaspoons vanilla extract
- ⅓ cup sour cream, room temperature (75g)
- ⅓ cup whole milk, room temperature (80mL)
How to Make Grandma’s Pineapple Upside Down Cake

1. Preheat & Prep the Pan
Set your oven to 350°F. Pour the melted butter into a 9-inch round cake pan or pie dish. Swirl it around to coat the bottom and a little up the sides. Sprinkle the brown sugar evenly over the butter—it’s going to bubble up and become that classic sticky-sweet layer.
2. Arrange the Fruit
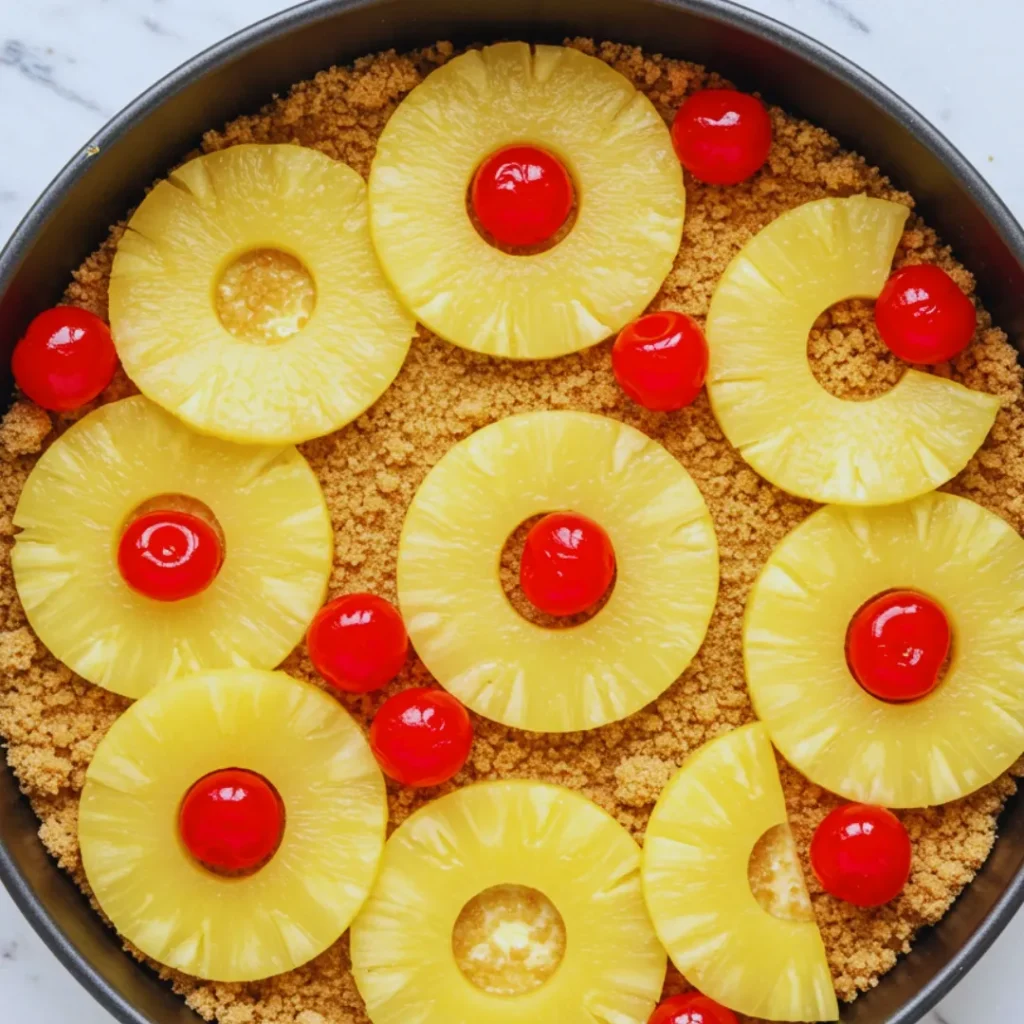
Pat the canned pineapple slices dry (too much liquid will mess with the caramel). Place one slice in the center of your pan and six more around it like sunshine rays. Optional—but pretty: slice three rings in half and stand them along the side of the pan. Pop a maraschino cherry in the center of each ring and fill any gaps. It’s like edible stained glass!
3. Make the Cake Batter
Whisk together your flour, baking powder, and salt in a medium bowl. In another cup or bowl, mix sour cream and milk.
In a large bowl or mixer, cream the butter until smooth, then add sugar and beat until light and fluffy—about 3 minutes. Add the eggs one at a time, then stir in the vanilla.
Now, alternate mixing in your dry ingredients and sour cream mixture: start with a third of the flour mix, then half the sour cream mix, then repeat. Keep mixing just until everything’s blended—don’t overdo it!
4. Bake and Flip
Pour the batter gently over the fruit. Spread it out evenly, being careful not to shift your beautiful arrangement underneath. Place the pan on a baking sheet (just in case of drips!) and bake for 40–45 minutes.
Pro tip: If the top is browning too fast, cover it with foil after 30 minutes. When a toothpick comes out with just a few moist crumbs, you’re golden.
Let the cake cool in the pan for 15 minutes. Then, hold your breath and do the flip: place your cake plate on top, invert, and voilà! Let it cool for another 20 minutes before slicing.
Preppy Tips for the Perfect Classic Upside Down Cake
- Dry the fruit: Patting the pineapple rings dry really helps avoid a soggy bottom.
- Room temp is key: Let your eggs, butter, and milk come to room temperature for a smooth batter.
- Don’t panic if it sticks a little: If a pineapple ring stays in the pan during the flip, just gently remove and place it back where it belongs—no one will notice!
- Serve it warm: Slightly warm with a scoop of vanilla ice cream? Game over.
A Sweet Slice of My Life
This classic upside down cake became a family tradition when my daughter Hannah decided it was her birthday cake of choice—every single year since she turned 7. She loves helping with the cherries, and I love how easy it is to pull together even when life feels a little chaotic (hello, soccer practice and last-minute school projects!).
Sometimes we bake it in the morning, and the girls can’t resist sneaking a slice before it even cools all the way. The best part? It’s just as good the next day… if there’s any left.
Love baking nostalgic cakes like this one? You might also enjoy my tips on how to use peanut butter in cakes for rich, nutty flavor twists your family will love.

FAQs About This Cake with Canned Pineapple
Can I use fresh pineapple instead of canned?
Absolutely! Just make sure it’s cut into even slices and not overly juicy.
What if I don’t have sour cream?
You can sub plain Greek yogurt in a pinch. It still gives that moist texture we love.
Can I make this ahead of time?
Yep! Make it the night before and store covered at room temp. Warm it slightly before serving for that fresh-baked feel.
How should I store leftovers?
Keep the cake covered in the fridge for up to 4 days. Pop slices in the microwave for 15–20 seconds to reheat.
There you have it—my go-to Easy Pineapple Upside Down Cake Recipe that never fails to steal the show. Whether it’s for a birthday, a brunch, or just a sweet moment of self-care on a Sunday afternoon, this cake is always a good idea. Trust me, once you make it, it’s going to earn a regular spot in your dessert rotation.


