How to get chocolate to stick to strawberries is a common challenge for anyone aiming to create this classic dessert. Achieving that perfect chocolate coating requires a combination of the right ingredients, preparation, and technique. In this comprehensive guide, you’ll learn everything from choosing the best strawberries and chocolate to troubleshooting common issues, ensuring your treats turn out flawlessly every time.
Understanding the Basics of Chocolate-Covered Strawberries
Before diving into the techniques and tips, it’s important to understand why chocolate-covered strawberries are such a delightful pairing and what makes them visually and tastefully perfect.
Why Chocolate and Strawberries Are a Perfect Pair
- Flavor Harmony: The sweetness of strawberries balances the slight bitterness of dark chocolate or the creamy sweetness of milk and white chocolates.
- Texture Contrast: Chocolate provides a crisp shell that enhances the soft, juicy texture of strawberries.
- Aesthetic Appeal: The vibrant red of strawberries against the glossy chocolate shell is visually striking, making it a popular choice for celebrations.
The Role of Chocolate Consistency in Adherence
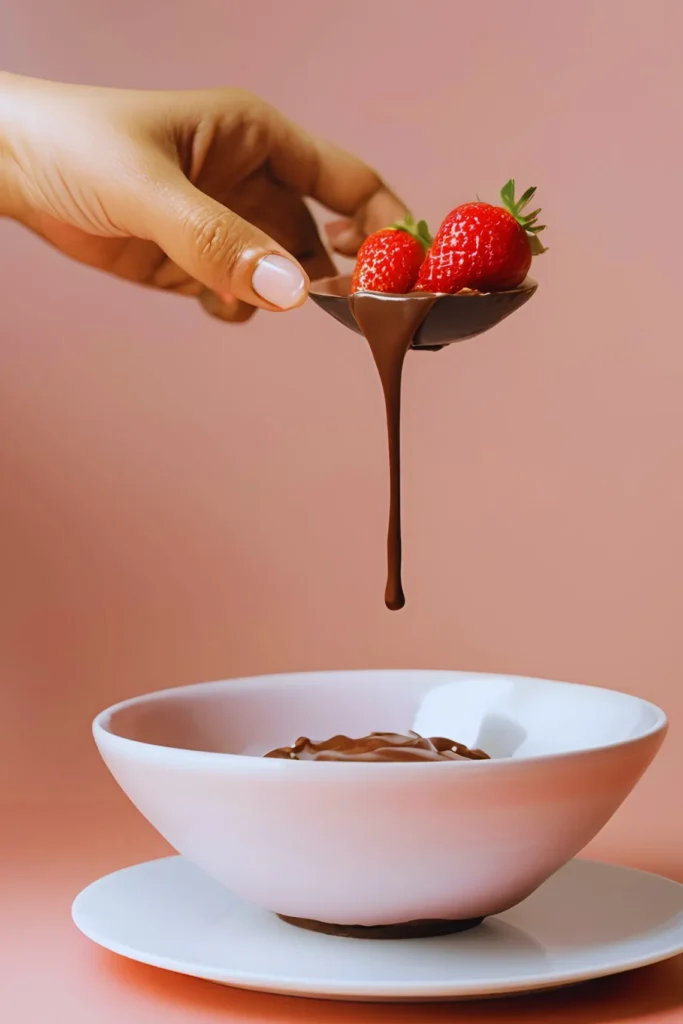
The consistency of your chocolate is the key to a smooth and even coating. If it’s too thick, it will clump and look uneven. If it’s too thin, it won’t adhere properly. Achieving the right consistency requires using the correct melting techniques and, in some cases, adding a stabilizing agent.

Choosing the Right Ingredients
The success of chocolate-covered strawberries begins with selecting high-quality ingredients. Both the strawberries and the chocolate play critical roles.
Best Types of Strawberries for Chocolate Dipping
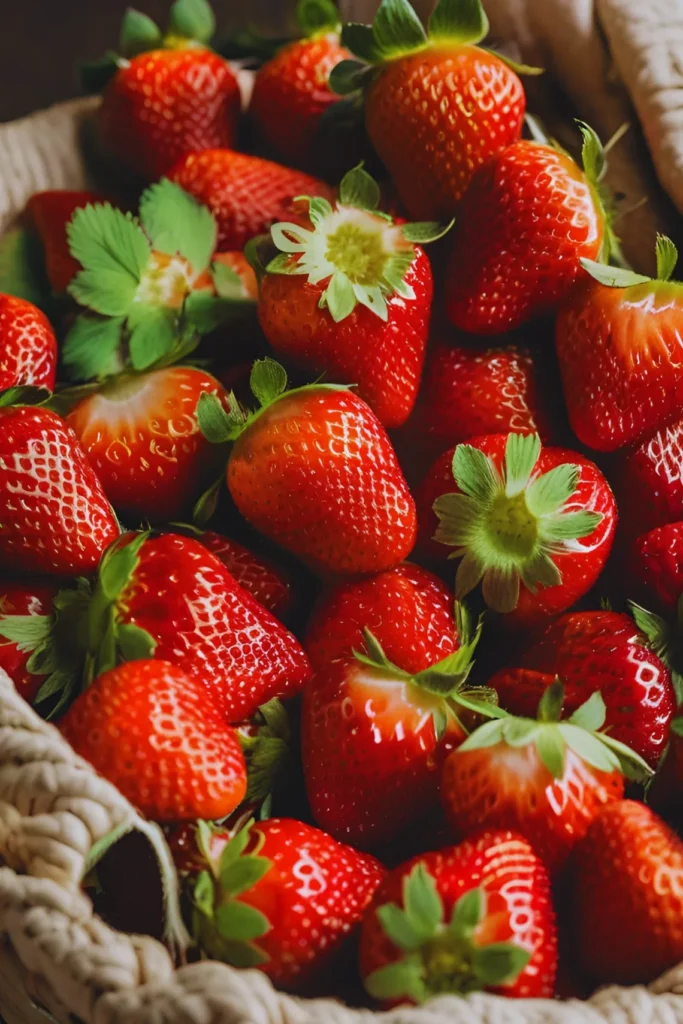
- Large and Firm Strawberries: Opt for strawberries that are plump and firm, as they’re easier to dip and provide a better surface for the chocolate to stick.
- Uniform Shape: Uniform strawberries ensure consistent coating and make the final presentation more appealing.
- Freshness Matters: Choose strawberries that are fresh and vibrant without any bruises or soft spots.
Types of Chocolate: Dark, Milk, and White
Each type of chocolate offers its unique flavor and texture. Consider your audience’s preferences when selecting the chocolate:
- Dark Chocolate: Rich and slightly bitter, this is the healthiest option due to its higher cocoa content.
- Milk Chocolate: Creamier and sweeter, milk chocolate is a crowd-pleaser.
- White Chocolate: A sweeter, buttery option that pairs well with decorative toppings.
Pros and Cons of Using Couverture Chocolate
- Pros:
- High cocoa butter content ensures a smooth texture and glossy finish.
- Excellent for tempering, which enhances the chocolate’s sheen and snap.
- Cons:
- More expensive than regular chocolate.
- Requires careful handling to avoid overheating.
Alternatives: Chocolate Chips or Chocolate Bark
- Chocolate Chips: Convenient and easy to melt but may require added oil for smoother consistency.
- Chocolate Bark: Ideal for beginners due to its simplicity and forgiving nature.
Preparing the Strawberries
Proper preparation of strawberries is essential for getting the chocolate to adhere well. Overlooking this step can lead to uneven coatings and chocolate that won’t stick.
Washing and Drying Techniques
- Rinse strawberries under cold running water to remove dirt and debris.
- Pat them dry with a paper towel and let them air dry on a clean surface.
- Ensure no water remains on the surface, as moisture prevents chocolate from sticking.
The Importance of Ensuring Dry Strawberries for Chocolate Coating
Even a small amount of water can cause the chocolate to seize or slide off the strawberry. This step cannot be skipped or rushed.
Removing Stems vs. Keeping Stems
- Keeping Stems: Stems provide a natural handle for dipping and enhance the rustic look of the finished product.
- Removing Stems: Useful for creating bite-sized treats, but requires alternative tools like skewers or toothpicks for dipping.
Preparing the Chocolate
The key to perfectly coated strawberries lies in the chocolate preparation process. Properly melted and tempered chocolate ensures a smooth, glossy finish that adheres evenly to the strawberries. Here’s how to get it just right.
Melting Chocolate: Methods and Tools
Double Boiler Method
The double boiler method is a classic and foolproof way to melt chocolate without burning it.
- Setup:
- Fill the bottom pot with an inch or two of water.
- Place a heatproof bowl over the pot, ensuring it doesn’t touch the water.
- Process:
- Heat the water gently until it simmers.
- Add chopped chocolate or chocolate chips to the bowl, stirring continuously.
- Why It Works: This method uses indirect heat, preventing the chocolate from overheating and seizing.
Microwave Melting Technique
The microwave offers a quick and efficient way to melt chocolate but requires careful monitoring.
- Steps:
- Place the chocolate in a microwave-safe bowl.
- Heat in 15- to 20-second intervals, stirring in between.
- Stop as soon as most of the chocolate has melted, then stir until smooth.
- Key Tips:
- Avoid overheating, as chocolate can burn quickly in a microwave.
- Use a lower power setting for better control.
Achieving the Right Consistency
The texture and fluidity of the chocolate are critical for a smooth, even coating. Here’s how to get it perfect.
Adding Oil or Shortening for Smooth Texture
- Why Add Fat?
- A small amount of neutral oil (like coconut or vegetable oil) or shortening can improve the chocolate’s consistency, making it easier to dip strawberries.
- How Much to Add:
- Start with 1 teaspoon of oil per cup of chocolate and adjust as needed.
Avoiding Chocolate Overheating
- What Happens When Chocolate Overheats?
- It can become grainy or clumpy, making it unusable for dipping.
- Prevent Overheating:
- Use a thermometer to keep the temperature between 86–90°F (30–32°C) for most chocolates.
- Remove from heat while a few chunks are still unmelted, then stir until fully smooth.
To explore more creative chocolate dessert ideas, check out our comprehensive guide to chocolate-covered strawberries for additional tips and variations.
Techniques for How to Get Chocolate to Stick to Strawberries
Once your chocolate is ready and the strawberries are prepared, it’s time for the dipping process. This step is where precision and technique matter most.
Holding the Strawberry for Best Results
- Using Stems:
- Hold the strawberry by its green stem or leaves to maintain control during dipping.
- No Stems?:
- Insert a toothpick or skewer into the top of the strawberry for easy handling.
The Best Dipping Techniques for Getting Chocolate to Stick
Full Coverage
- How to Achieve It:
- Submerge the strawberry fully into the melted chocolate.
- Gently twist it as you lift it out to remove excess chocolate.
- When to Use:
- Ideal for creating a uniform look for special occasions.
Partial Coating
- How to Do It:
- Dip the strawberry at an angle, leaving part of the red fruit exposed.
- Why Choose This?:
- Offers a more rustic and artistic presentation while saving chocolate.

Twisting for a Clean Finish
- The Technique:
- After dipping, gently twist the strawberry to let excess chocolate drip off.
- This prevents pooling at the base and ensures a smooth finish.
- Extra Tip:
- Tap the strawberry lightly on the side of the bowl to remove any air bubbles or excess chocolate.
Setting Chocolate to Stick Properly on Strawberries
Proper setting and cooling are critical for achieving that perfect glossy shell.
Using Parchment Paper for Easy Release
- Why It’s Essential:
- Placing dipped strawberries on parchment or wax paper prevents them from sticking to the surface.
- Alternative Options:
- Use a silicone baking mat for an even easier release.
Cooling at Room Temperature vs. Refrigeration
- Room Temperature:
- Best for achieving a glossy finish, as rapid cooling in the fridge can dull the chocolate’s appearance.
- Refrigeration:
- Useful if you’re in a hurry, but avoid leaving the strawberries in the fridge for too long, as condensation can form on the chocolate.
How Long to Let the Chocolate Set
- Timeframe:
- At room temperature, chocolate usually sets within 30–45 minutes.
- In the refrigerator, it can set in 15–20 minutes.
- Final Check:
- Ensure the chocolate is completely firm before handling or plating the strawberries.
Troubleshooting Common Issues
Making chocolate-covered strawberries can sometimes lead to unexpected problems, from chocolate not sticking to uneven coatings. In this section, we’ll tackle common issues and how to resolve them effectively.
Why Chocolate Might Not Stick to Strawberries
The most frustrating issue is when chocolate refuses to adhere properly. Here’s why this happens and how to fix it:
Common Causes
- Moisture on Strawberries:
- Even a small amount of water can prevent chocolate from sticking.
- Chocolate Temperature:
- If the chocolate is too hot or too cold, it won’t coat the strawberries evenly.
- Oil Residue:
- If strawberries are not properly cleaned, waxy residues can affect adhesion.
How to Fix It
- Ensure Dryness:
- Always dry strawberries completely before dipping. Use a paper towel and allow them to air dry for at least 30 minutes.
- Check Chocolate Temperature:
- Use a thermometer to ensure the chocolate is at the right dipping temperature (86–90°F or 30–32°C).
- Clean Thoroughly:
- Wash strawberries well to remove any waxy coating but avoid soaking them, as excess water can seep into the fruit.
Fixing Problems with Lumpy or Uneven Coating
Why It Happens
- Chocolate that’s not properly melted or too thick can create an uneven coating.
- Air bubbles may form when dipping, resulting in a lumpy finish.
Solutions
- Thin Out the Chocolate:
- Add 1 teaspoon of neutral oil or shortening to achieve a smoother texture.
- Stir Constantly:
- During melting, stir regularly to prevent clumps.
- Tap and Twist:
- Gently tap the strawberry on the side of the bowl and twist it to remove excess chocolate and smooth out the coating.
Addressing Chocolate Bloom (White Streaks)
What is Chocolate Bloom?
- Bloom occurs when cocoa butter rises to the surface of the chocolate, leaving white streaks or spots.
How to Prevent Bloom
- Temper Your Chocolate:
- Proper tempering stabilizes cocoa butter, reducing the chance of bloom.
- Avoid Sudden Temperature Changes:
- Cool chocolate-covered strawberries gradually rather than placing them directly into a cold refrigerator.
- Store Properly:
- Keep strawberries in a cool, dry place to avoid moisture-induced bloom.
Creative Tips for Enhancing Chocolate-Covered Strawberries
Take your chocolate-covered strawberries to the next level by adding creative touches that elevate both flavor and presentation.
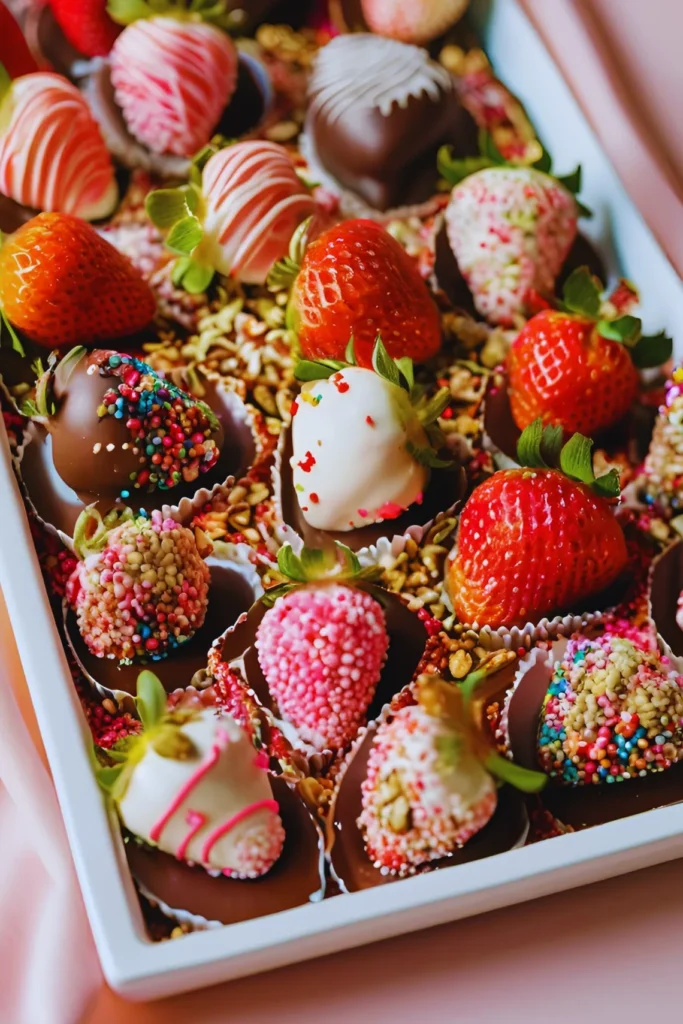
Adding Toppings: Sprinkles, Nuts, or Drizzles
Popular Toppings
- Sprinkles:
- Add a pop of color and texture with festive sprinkles.
- Nuts:
- Crushed almonds, pistachios, or hazelnuts pair beautifully with chocolate.
- Coconut Flakes:
- Add a tropical twist with sweetened or unsweetened coconut.
- Crushed Cookies:
- Oreos or graham crackers create a decadent finish.
How to Apply Toppings
- Sprinkle toppings immediately after dipping the strawberry in chocolate while it’s still wet.
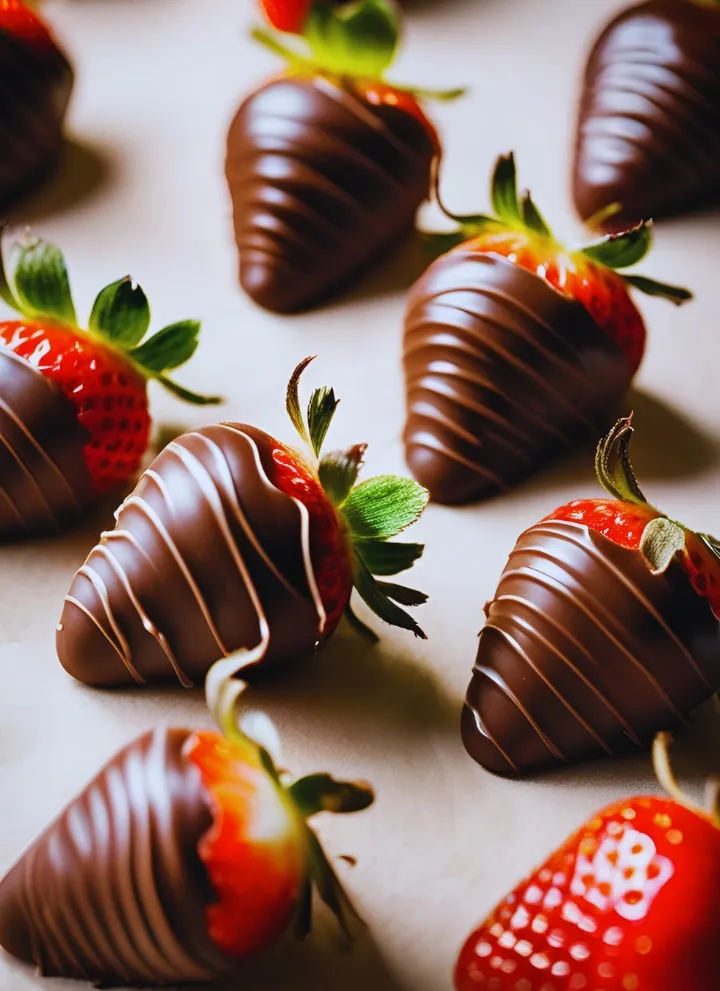
- For drizzles, use a piping bag or a spoon to create decorative lines with melted chocolate in a contrasting color.
Using Food Coloring to Personalize Chocolate
How to Add Color
- Use oil-based food coloring designed for chocolate to prevent the chocolate from seizing.
- Add a few drops of food coloring to melted white chocolate to create pastel shades or bold hues.
Ideas for Personalization
- Holiday Themes:
- Red and green for Christmas, or pink and white for Valentine’s Day.
- Custom Designs:
- Draw initials, shapes, or patterns for a personalized touch.

Storing and Serving Chocolate-Covered Strawberries
Proper storage is crucial to maintain the freshness and quality of your chocolate-covered strawberries. Additionally, how you serve them can enhance their appeal.
Best Practices for Keeping Strawberries Fresh
- Avoid Humidity:
- Store strawberries in a cool, dry place to prevent condensation.
- Use Airtight Containers:
- Place them in a single layer to avoid smudging the chocolate.
- Do Not Freeze:
- Freezing causes strawberries to release moisture, leading to a soggy texture.
How Long Can You Store Them?
- Chocolate-covered strawberries are best enjoyed within 24–48 hours of preparation.
- Beyond two days, the strawberries may start to lose their freshness, and the chocolate could develop condensation or bloom.
Serving Suggestions for Special Occasions
Elegant Displays
- Tiered Platters:
- Use tiered serving trays for an eye-catching presentation.
- Decorative Liners:
- Place each strawberry in a cupcake liner for a polished look.
Pairing Ideas
- Serve alongside champagne or sparkling wine for a luxurious pairing.
- Combine with other fruits and desserts for a colorful dessert platter.
Frequently Asked Questions
1. Why is my chocolate cracking after it sets?
Cracked chocolate typically occurs when the strawberries or the chocolate undergo sudden temperature changes. For example, if you refrigerate them immediately after dipping, the rapid cooling can cause the chocolate to contract and crack. To avoid this, let the dipped strawberries cool at room temperature for about 15–30 minutes before moving them to the fridge.
2. Can I dip strawberries in chocolate a day in advance?
Yes, you can prepare chocolate-covered strawberries a day in advance, but it’s essential to store them properly. Place them in an airtight container lined with parchment paper to prevent sticking, and keep them in the refrigerator. However, eating them fresh ensures the best flavor and texture, as strawberries can start to lose their juiciness after 24–48 hours.
3. What type of chocolate works best for beginners?
For beginners, chocolate chips or melting wafers are excellent options because they melt easily and don’t require tempering. While couverture chocolate provides a professional sheen and taste, it requires more skill and precision. If you’re new to chocolate dipping, start with simpler options to build confidence before experimenting with premium chocolate.
4. Can I make chocolate-covered strawberries without stems?
Yes, but you’ll need to use alternatives for dipping, such as toothpicks, skewers, or dipping forks. Without stems, strawberries can be more challenging to handle, so be gentle during the dipping process to prevent dropping them into the chocolate. Keeping stems is recommended for convenience and presentation, but it’s not mandatory.
5. How do I prevent the chocolate from pooling at the base?
To avoid pooling, gently tap the strawberry on the side of the bowl after dipping to remove excess chocolate. Then, place the strawberry on parchment paper and slightly twist it as you set it down. This technique helps create a clean edge at the base and prevents uneven layers of chocolate from forming.
6. Can I use different fruits instead of strawberries?
Absolutely! While strawberries are the most popular option, you can dip other fruits like bananas, apples, oranges, or even dried fruits like apricots. However, keep in mind that some fruits, like bananas, can brown quickly, so you may need to coat them in lemon juice before dipping to preserve freshness.
7. How do I fix seized chocolate?
If your chocolate seizes (becomes thick and grainy), it’s likely because moisture came into contact with it. To fix this, gradually add a teaspoon of neutral oil or shortening while stirring continuously. This helps restore the smooth, fluid consistency. However, severely seized chocolate may need to be discarded.
8. What’s the difference between tempered and untempered chocolate?
Tempered chocolate has a glossy finish, a crisp snap, and resists melting at room temperature. Untempered chocolate is easier to melt but tends to look dull and may bloom (develop white streaks) over time. If presentation is a priority, tempering is worth the effort, but untempered chocolate works well for casual occasions.
9. Why is my chocolate-covered strawberry sticky after setting?
Sticky coatings often result from high humidity or condensation. If strawberries are placed in the fridge for too long, moisture can accumulate on the surface. To minimize stickiness, store them in a cool, dry place and use airtight containers lined with parchment paper to absorb excess moisture.
10. Can I reuse leftover melted chocolate?
Yes, leftover chocolate can be reused for other recipes or decorations. Allow the melted chocolate to cool completely, then store it in an airtight container. When reheating, use the double boiler method or microwave in short bursts to maintain its quality. Adding a small amount of oil can help restore its smooth consistency.


